How to Properly Prune Using the 3-Cut Method and The Reduction Cut
Follow these basic steps to learn how to prune your tree without causing long-term harm.
We must make proper pruning cuts to avoid accidentally killing a tree while pruning it. We can learn how to make these cuts by looking at how trees naturally function in the forest.
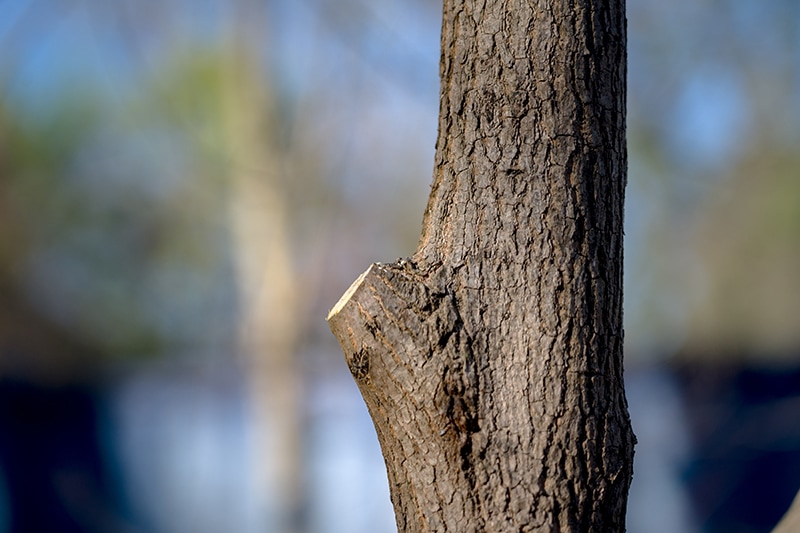
Through careful observation, we find that trees naturally perform self-pruning to shed weak and inefficient branches. The fancy term for this process is cladoptosis. They do this in a way that prevents wood-decay fungi from killing the tree. This process is driven by something called the branch collar. The branch collar is located at the base of a branch, where it meets the trunk (or a larger branch). The branch collar consists of overlapping layers of tissue that create a strong attachment point with the trunk and help prevent wood-decay fungi from entering the trunk.
The key takeaway from these observations? Do not damage the branch collar when pruning. Otherwise, we could accidentally harm or kill the tree. With that in mind, now let’s learn about the 3-cut method.
The 3-Cut Method
Before we begin, we will need the following tools:
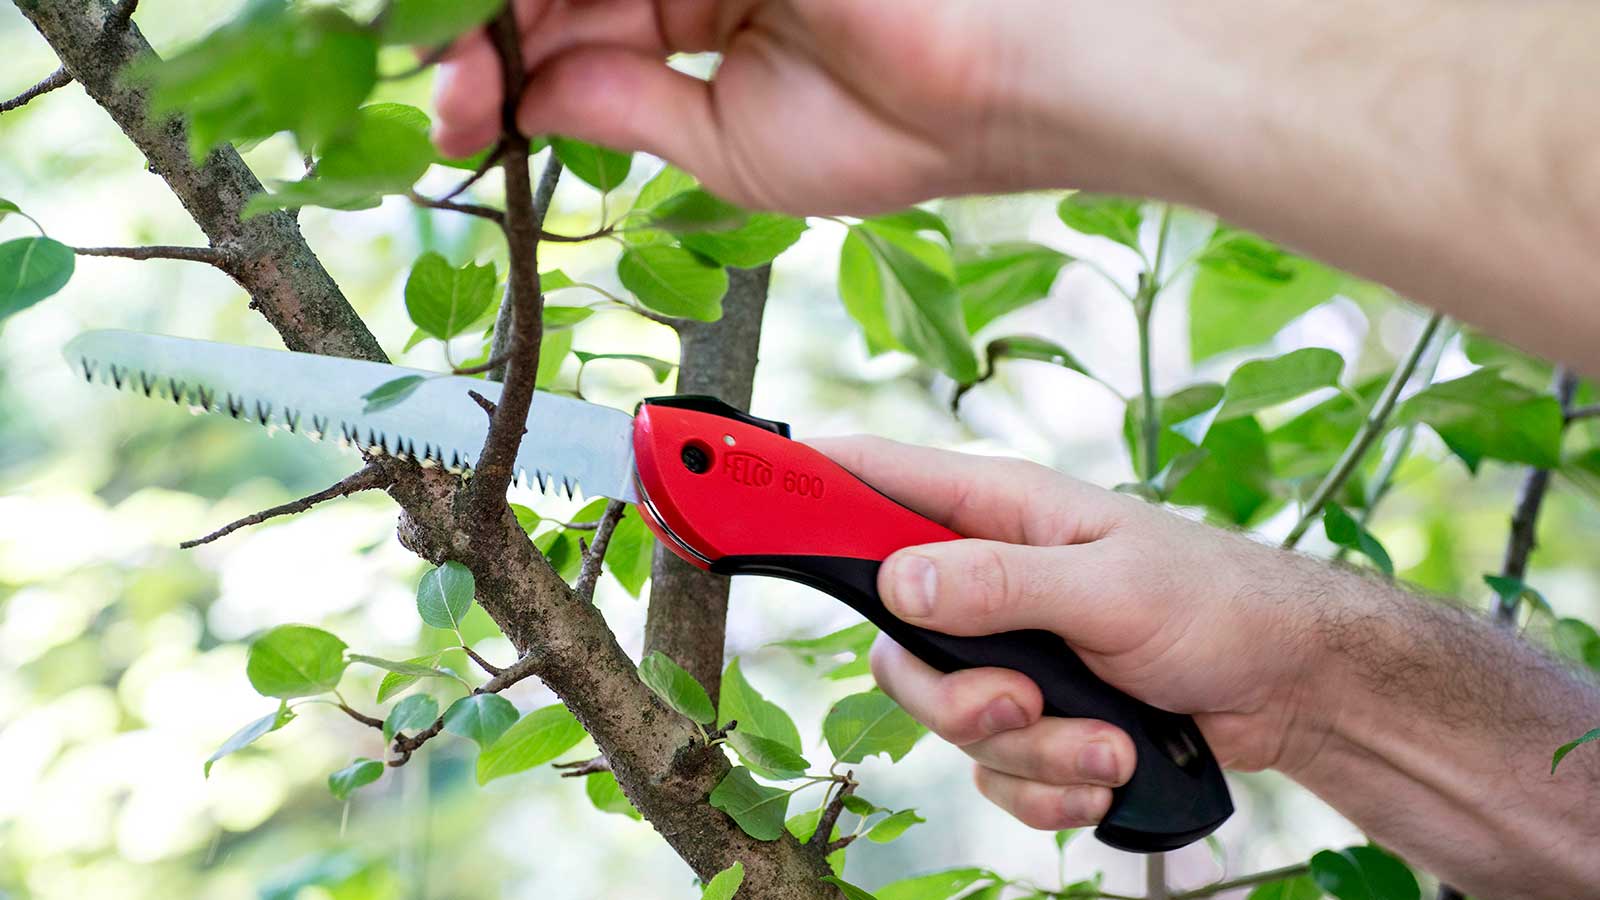
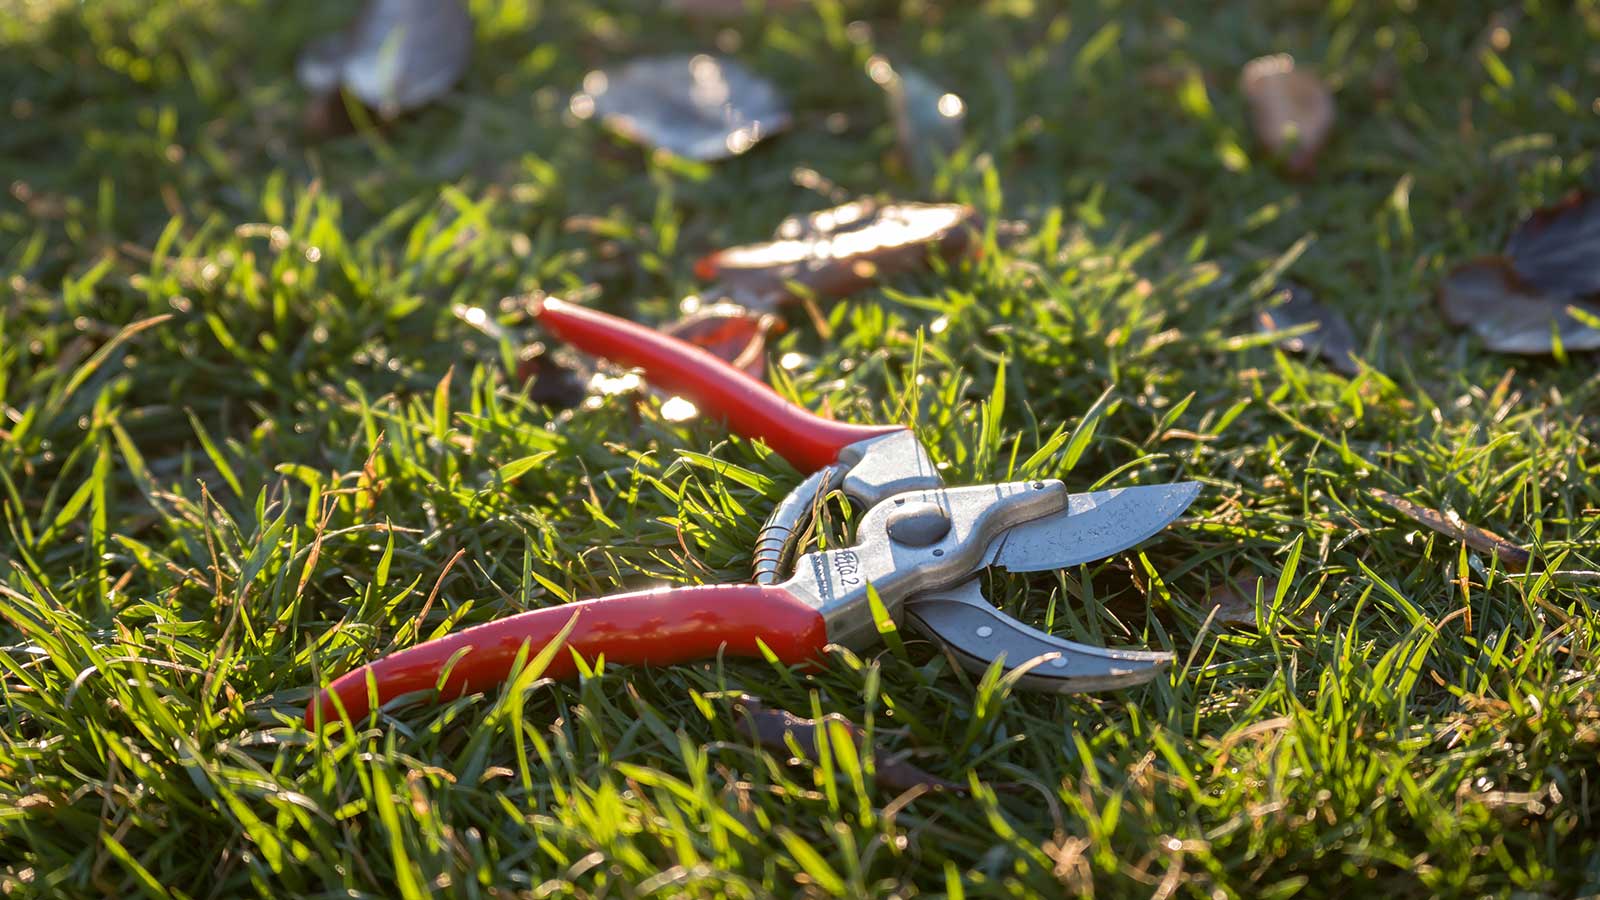
- Bypass pruners: Use these for cuts on branches that are less than ⅓-inch in diameter.
- Loppers: Use these to make cuts on branches from ⅓-inch to 1-inch in diameter.
- Hand saw: Use this to make cuts on branches 1-inch in diameter and larger.
- Optional: Pole saw and pole loppers. These are great for cutting branches that are out of reach.
Let me add two important warnings before we dive in:
- Wear personal protective equipment required for each tool. I recommend eye and hand protection at a minimum. Wear a helmet when cutting branches overhead.
- Work from the ground on safe, flat surfaces only. Do not work from roofs, ladders, and other sloped and unstable surfaces without professional training and safety equipment. These are dangerous places.
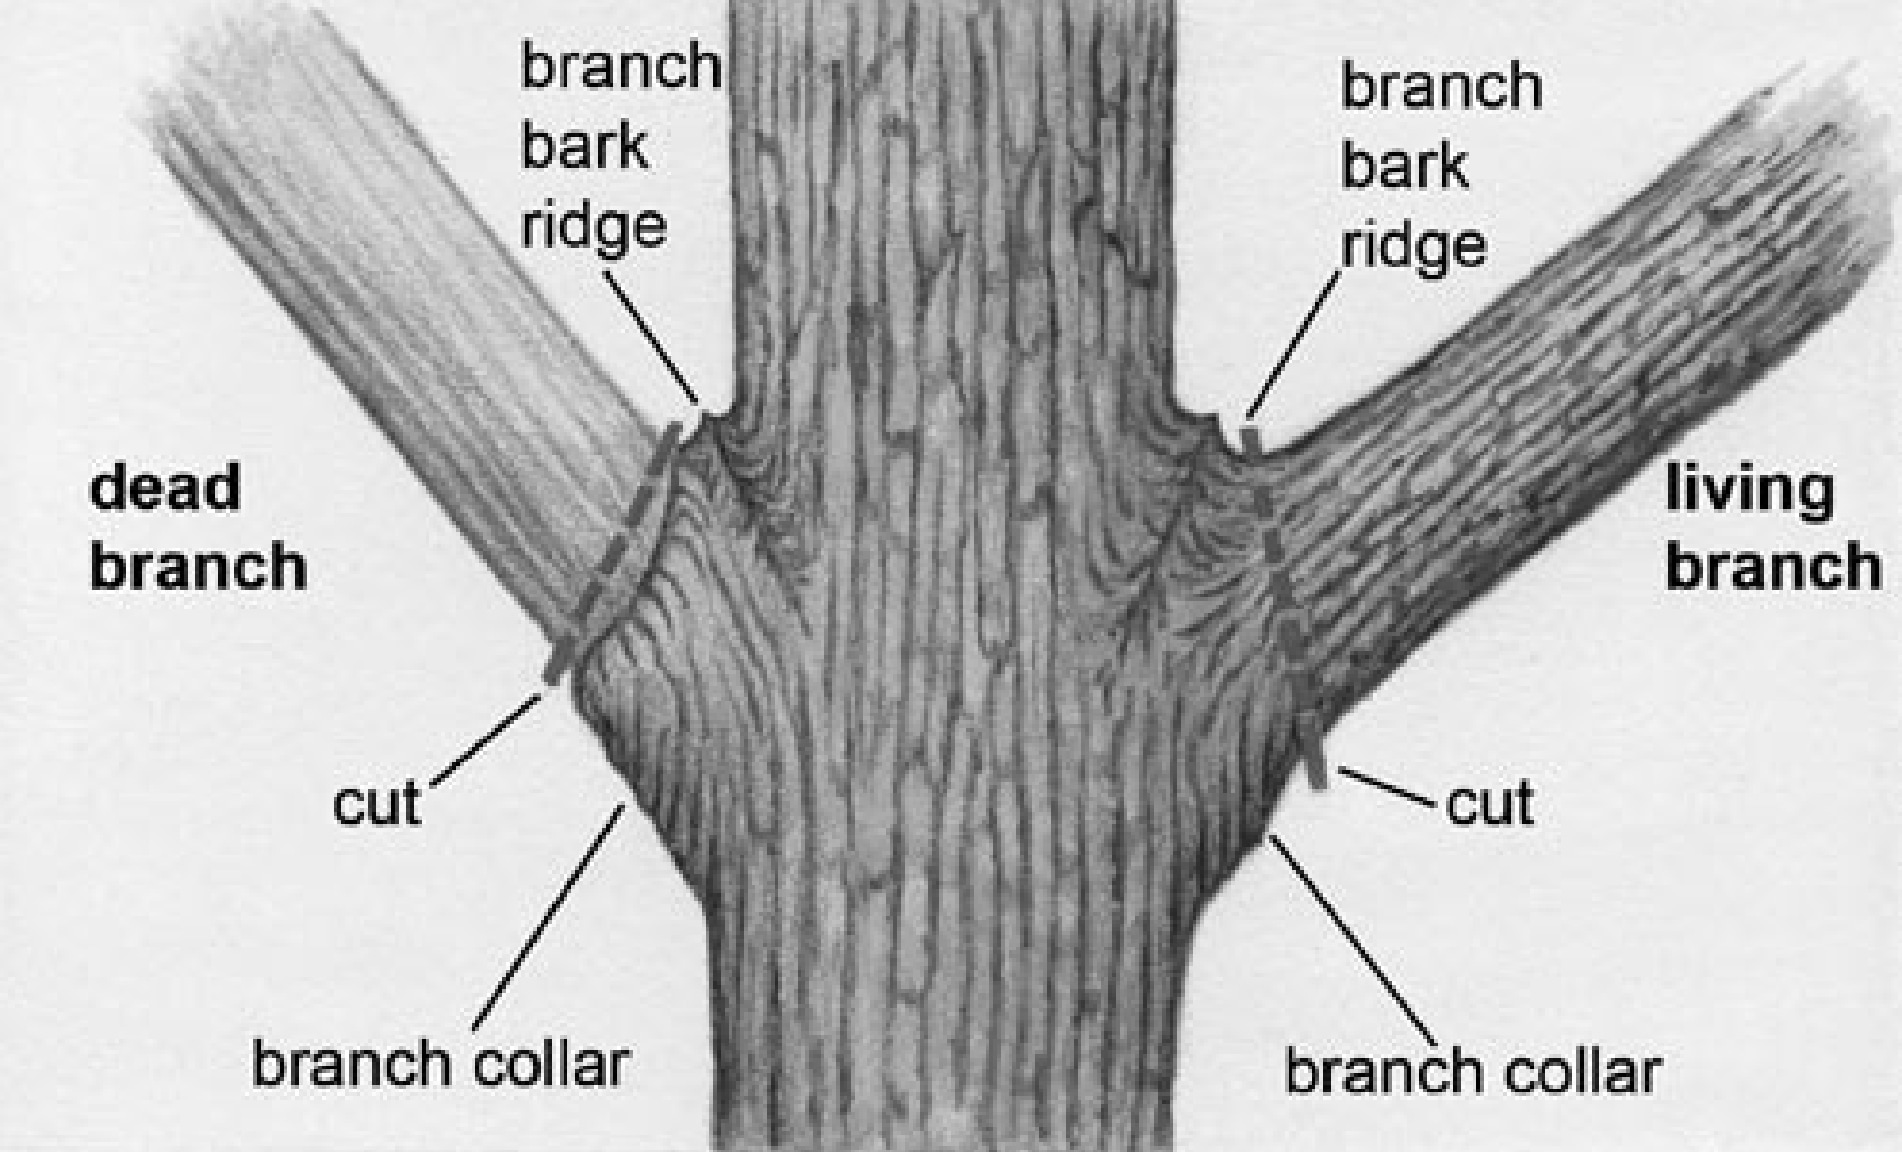
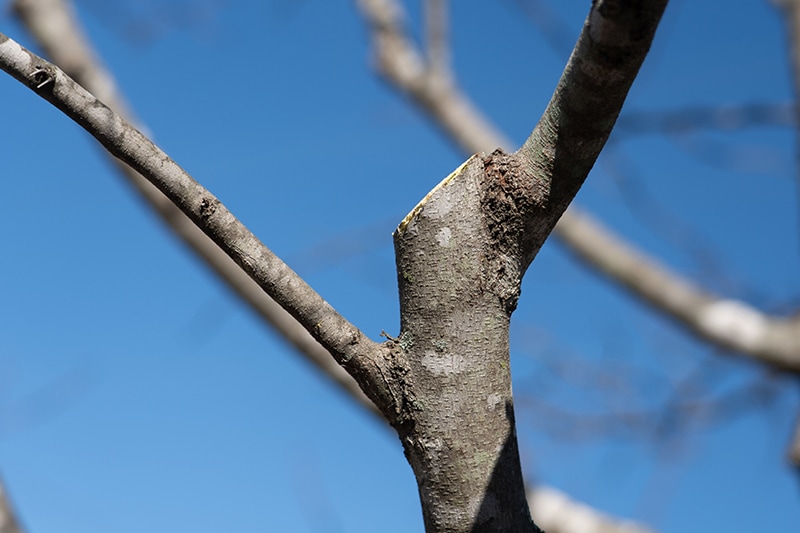
To begin, we must first identify the branch collar. The branch collar is a bulge at the base of the branch where it meets the trunk (or a larger branch). With practice, it will become easy to locate the branch collar. Whenever we make a pruning cut, the goal is to make the cut immediately adjacent to the outside of the branch collar. We do not want to remove or damage the branch collar, but we also do not want to cut too far away from the branch collar. Both make it hard or impossible for the tree to create protection against wood-decay fungi.
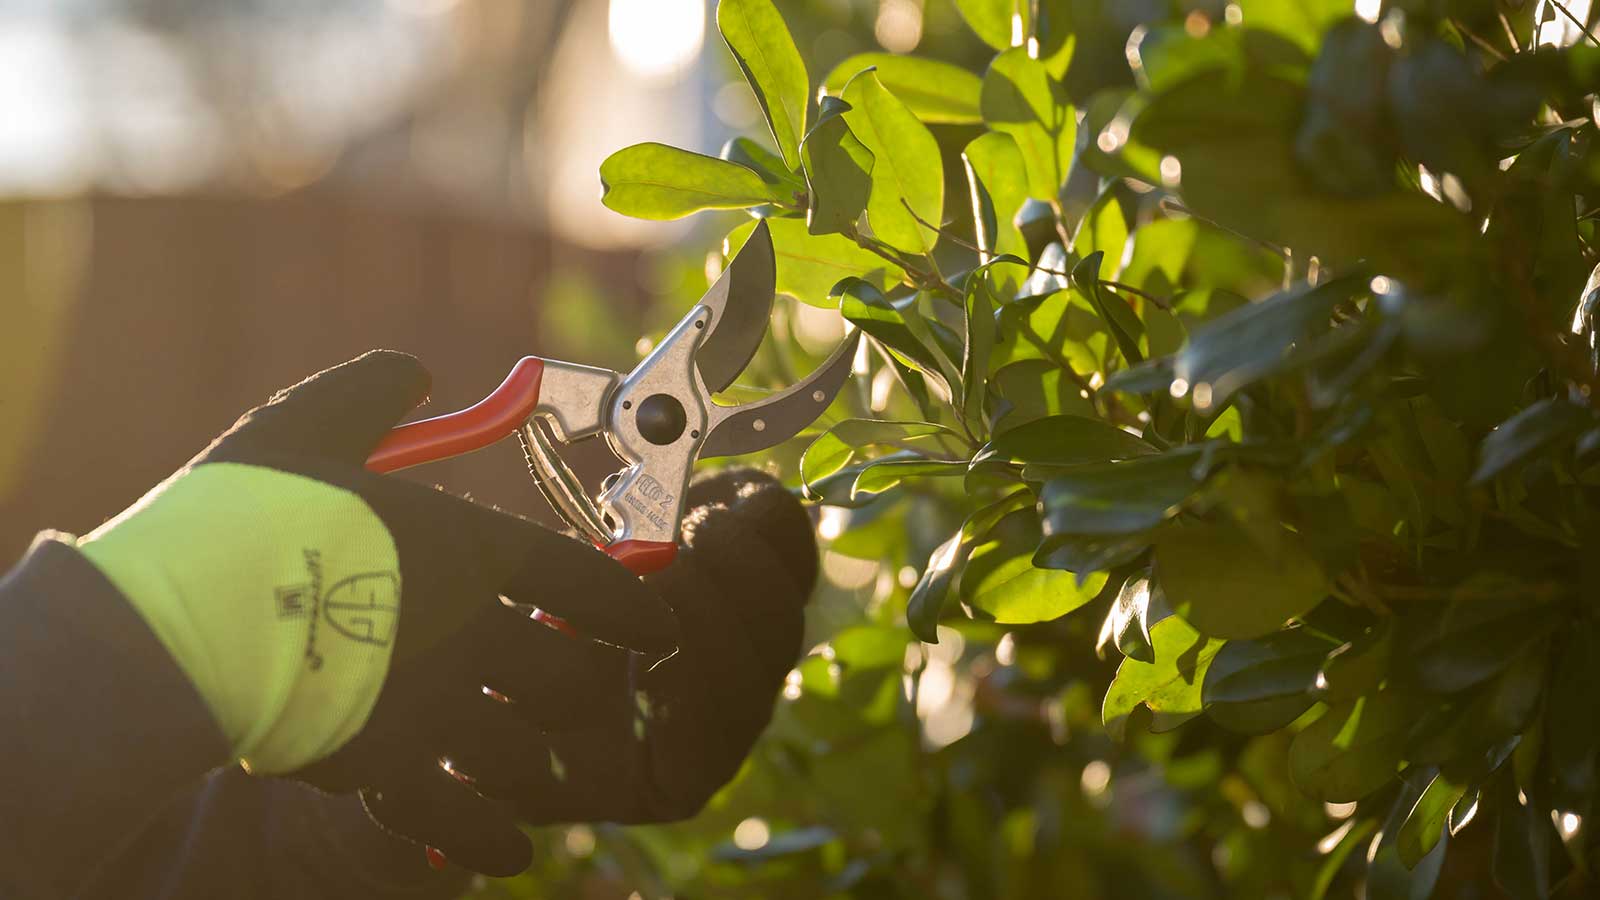
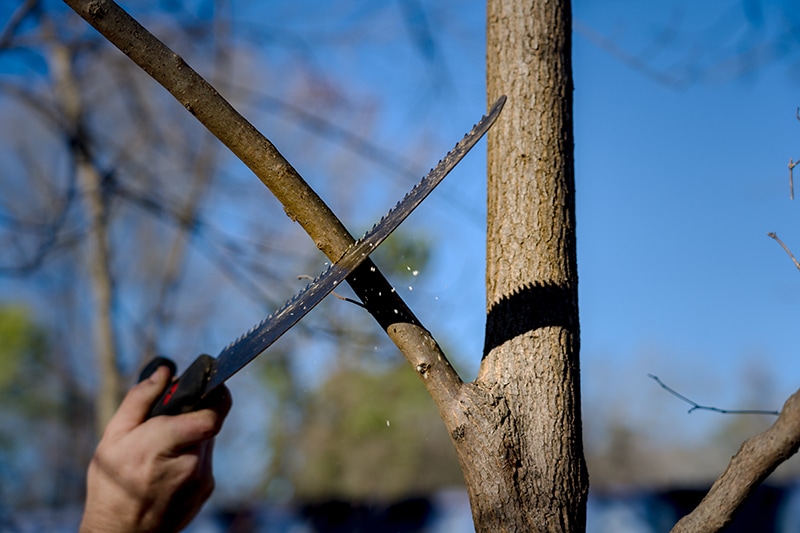
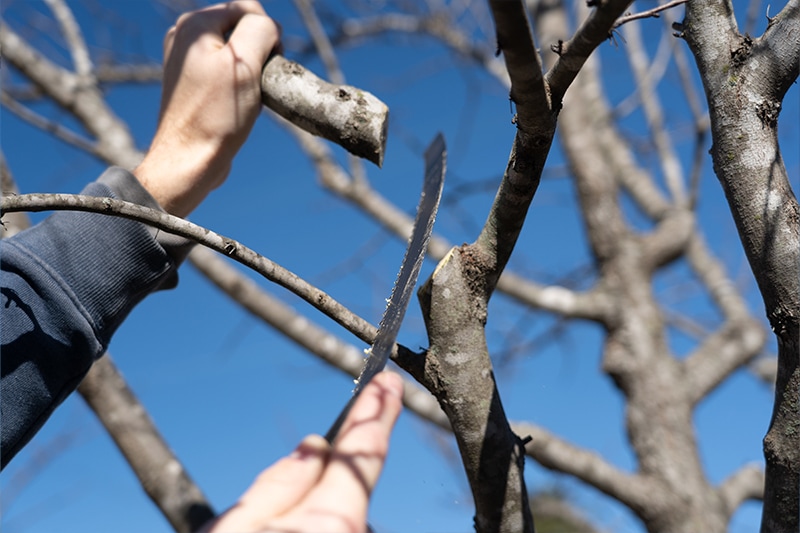
For branches less than 1-inch in diameter, we use bypass pruners or loppers to make the cut outside of the bulge, on the side furthest from the trunk (or larger branch). For any branch larger than 1-inch in diameter, we should use a hand saw to make the pruning cut. But be careful! These saws are sharp. Make sure hands, arms, and legs are not behind the direction of the cut—we do not want to accidentally slice our body after the saw breaks through the final bit of wood. It hurts!
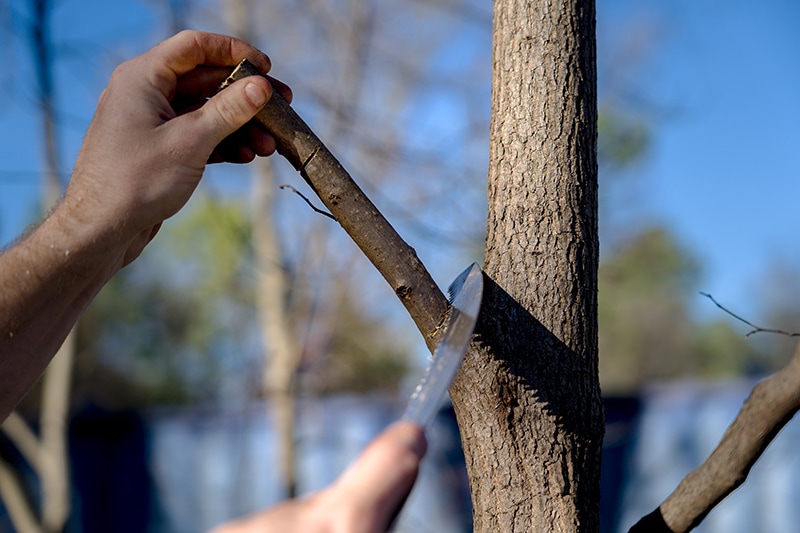
When we use a hand saw, we encounter a new issue: As we are cutting the branch, it could fall and peel bark from the underside of the branch collar and the trunk below where the branch attaches. This creates a serious wound that leaves the tree susceptible to attack from wood-decay fungi. We must avoid this or risk killing the tree. To do so, we perform something called the 3-Cut Method.
Step-by-Step: 3-Cut Pruning Method
- 1
Cut 1
- 2
Cut 2
- 3
Cut 3
- 4
Complete Cut
Here is how to perform the 3-Cut Method:
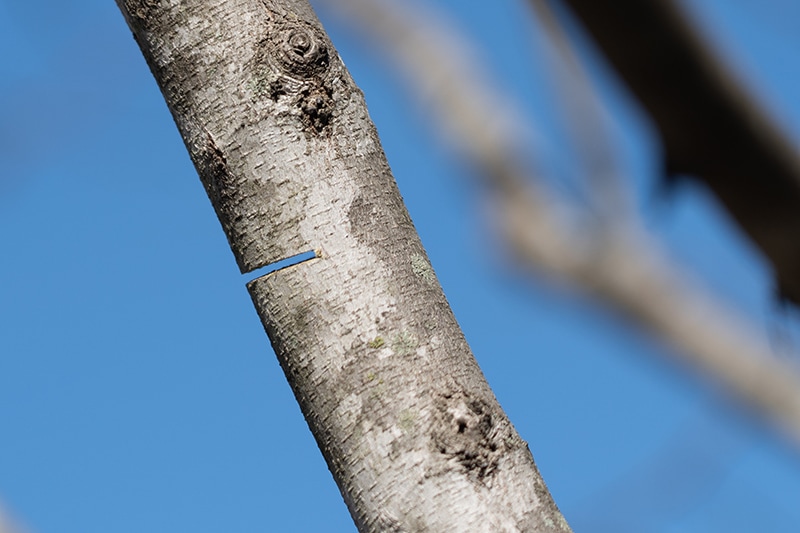
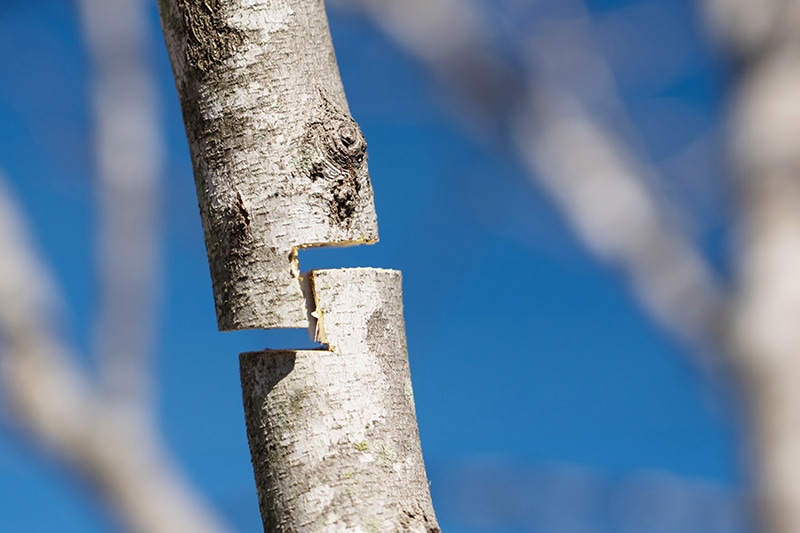
- We make the first cut under the branch to keep it from peeling bark from the underside. This cut should be made approximately 2–3 inches from the branch collar.
- With the first cut in place, we move our hand saw beyond this cut, to approximately 4–5 inches from the branch collar. Make this second cut starting from the top of the branch. Please note that the goal of these first two cuts is to reduce the weight of the branch without peeling bark, thereby freeing us to make an exact final cut.
- The third and final cut must be made immediately adjacent to the outside of the branch collar. Do not damage the branch collar. Using a sharp saw will help make a great cut.
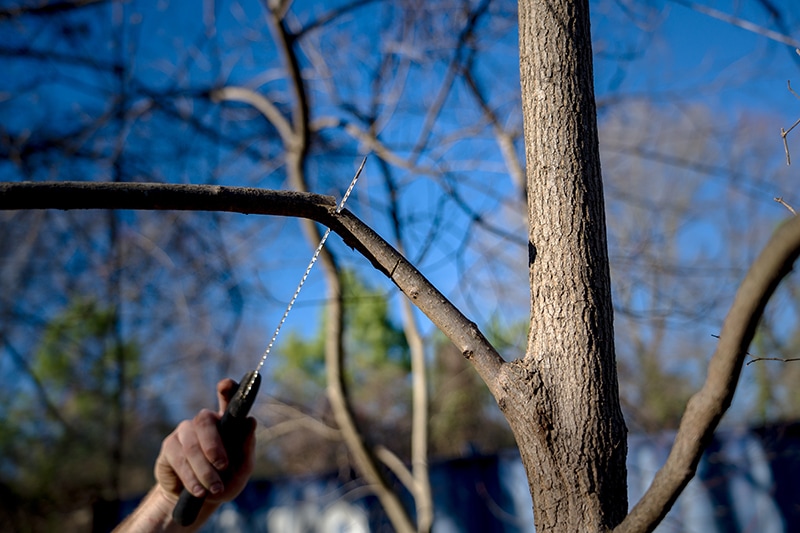
Sometimes we only need to reduce the length of a branch instead of fully removing it. For this, we can still use the 3-Cut Method, but we will need to apply it using a slightly different approach. We'll use a new method called a reduction cut. Let's learn how to do this next.
The Reduction Cut
A reduction cut is one where we reduce the end of a main branch back to a smaller side branch (the fancy term is a side lateral). That remaining side branch should be at least one-third of the diameter of the main branch so that it can sustain life for the remainder of the branch.
For small branches less than 1-inch in diameter, use bypass pruners or loppers to make the cut. For any branch larger than 1-inch in diameter, use the 3-Cut Method. Again, the goal with the first two cuts is to reduce the weight of the branch, thereby freeing us to make a very precise final cut without having to worry about peeling bark. For reduction cuts, the third and final cut must be made at a 45° angle to the side branch and should not damage the branch collar of the side branch.
Step-by-Step: Reduction Cut
- 1
Cut 1
- 2
Cut 2
- 3
Cut 3
- 4
Complete Cut
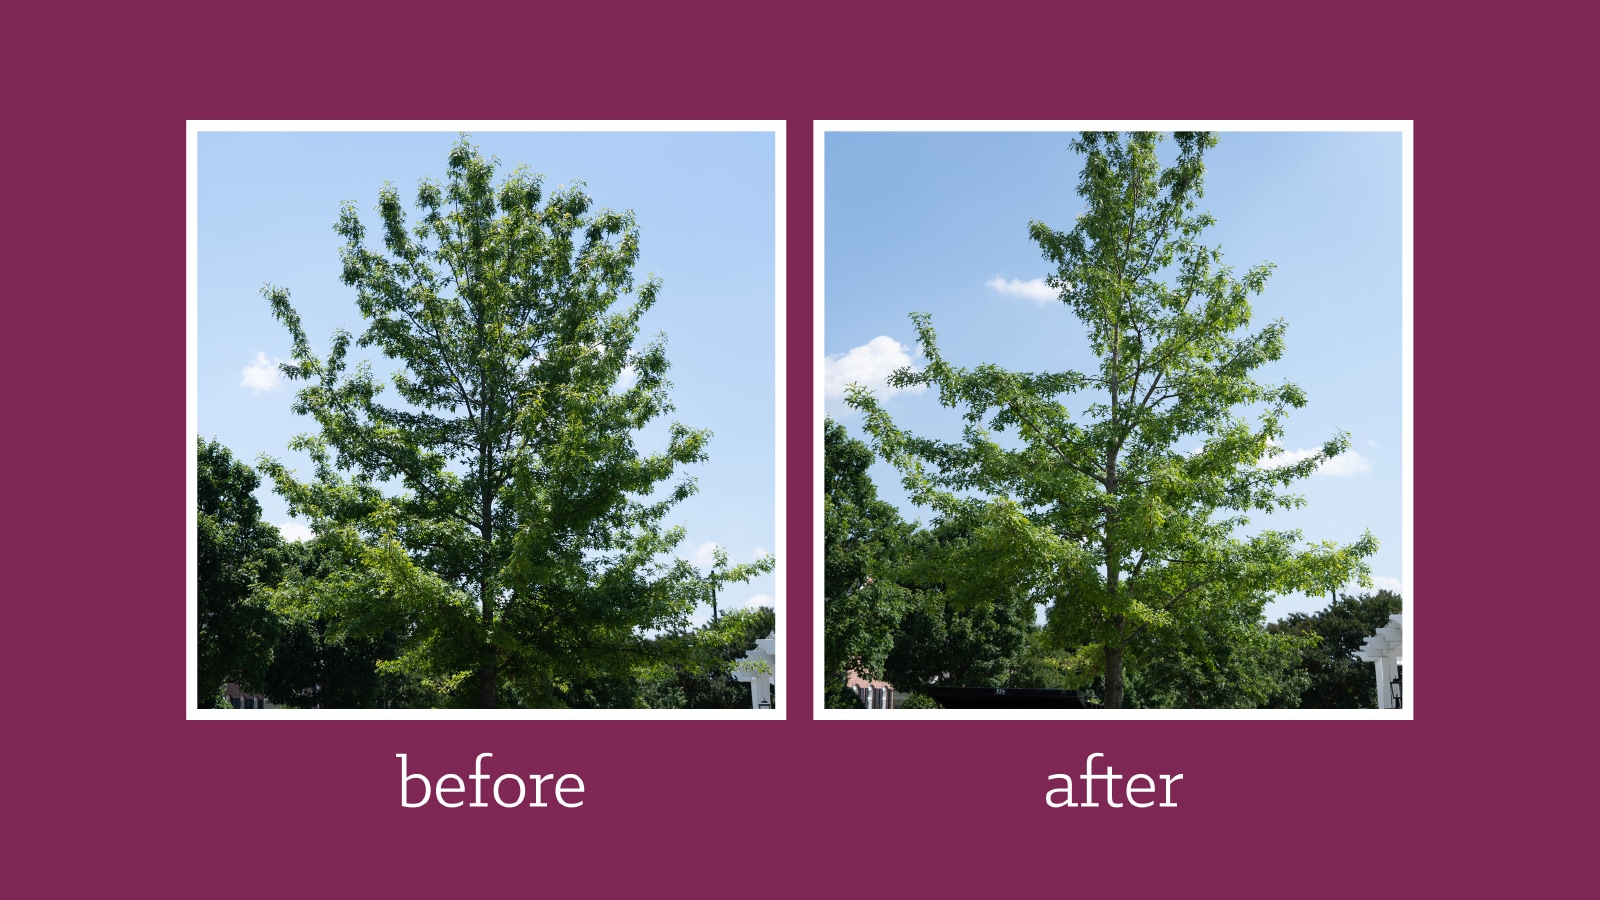
Congratulations! You've now mastered the art of proper pruning techniques. Now, armed with the knowledge of the 3-Cut Method and the reduction cut, you're ready to tackle structural pruning with confidence. Remember, if you ever need professional pruning help, please don't hesitate to reach out to us for a free consultation!