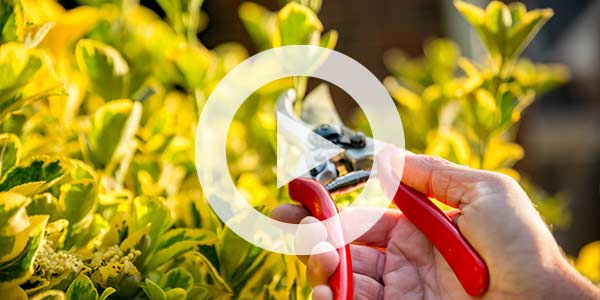
Video | How to Perform the 3-Cut Pruning Method
This video will show you how to make a proper pruning cut that avoids harming the branch collar.
Hi, I’m Cedric. I’m going to show you how to cut a branch today. First we need to identify the branch collar because if we cut that the tree is unable to compartmentalize. This is going to guide us and show us exactly where we need to make our final cut. Let’s use this limb for example.
The branch ridge is where the limb meets the trunk of the tree in this area right here that bulges. Our final cut is going to be where the branch collar meets the limb. Right here!
Now that we have identified the branch collar, we can use the 3-Cut Method. So, our first cut will be on the bottom side of the limb, about a fourth of the way through. This is going to stop the branch from peeling past the branch collar. Our second cut will be a little further down the limb. We will come on top and cut all the way through. This leaves us with just a stub. And since all the weight has been removed from the limb, we can make our third and final cut where the stub meets the branch collar.
And there you go, this is what your branch collar should look like after your final cut.